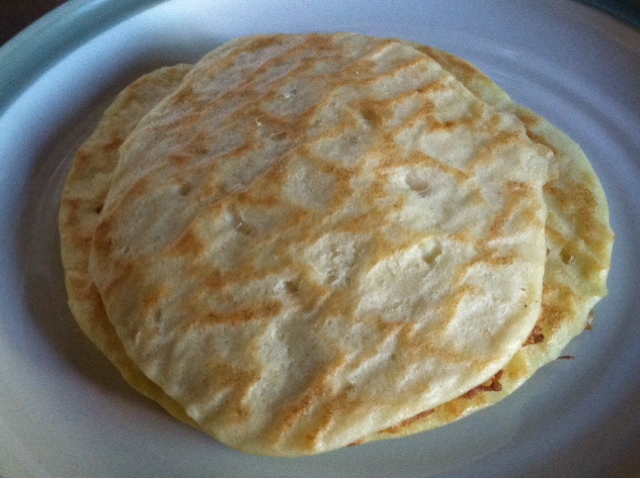
Flapjacks and crepes and biscuits and bread, oh my! Sourdough is back in season in our household, and it is adding a lot of yumminess to our lives! I have refined my approach a little bit, and am experiencing great results every day. It is high time I shared this joy with my readers.
What do I love about sourdough? Well, let's see. The flavor is incredible. It is very cooperative in recipes, MUCH more so than uncultured gluten-free flours. It takes only a few minutes a day to maintain. It does not require the addition of gums, starches (such as tapioca flour), eggs or lots of ingredients to create delicious bread. It is life-giving; I have found that sprouted, soured gluten free grains help my digestion stay healthy. It keeps me slim; those cultures consume much of the starch found in grain. It is inexpensive, especially compared to store-bought gluten-free bread, which often contains unhealthy unpronounceables. And lastly, it is fun! I love to hop out of bed in the morning to run and see if my starter bubbled well the night before.
I had a day-by-day sourdough series on this blog awhile back. Today I'm going to walk you through the basics again, but I'll be much more pithy. There might not be any pictures. Then, in future posts, I will share my sourdough recipes. Hint: gluten free sourdough needs a little extra TLC; following conventional sourdough recipes will not do.
You can maintain your gluten-free starter on the sorghum, rice or teff flour. I use sprouted brown rice flour. Probably it's best to choose one flour and stick with it to keep the cultures happy. Other gluten-free flours (such as millet, quinoa and buckwheat) are invited to the party, but not until the recipe stage.
I use all organic ingredients and filtered water, and always keep my starter at room temperature.
To begin a new culture, combine 1-2 whole dried dates (best if they are a little speckled with white spots), 1/2c flour and 1/2c water in a pint-sized mason jar. Cover with a clean cloth. Stir twice a day until the mixture foams up dramatically. Then, start feeding it 1T flour and 1T water morning and night. When you see that it generates bubbles reliably between feedings, you can remove the dates and move into maintenance mode.
To maintain your starter, feed morning and night according to this procedure:
1. If any water has risen to the top of your starter, pour it off into a 1/4c* measuring cup. Fill measuring cup the rest of the way to the top with filtered water, and pour into a fresh mason jar.
2. If you wish to use any starter in a recipe, remove it now. Make sure to always leave about a cup behind.
3. Add 1/4c* flour to the water in the fresh mason jar. Stir well to combine.
4. Add remaining bubbly starter, stir well, and cover with a fresh cloth.
*If your starter accumulates, you will need to increase the amount of flour and water at feedings. Always remember to pour off the water in the first step and count it toward the liquid added.
If you have under 2 cups of starter, follow the recipe exactly as above.
If you have 2-4 cups starter, feed 1/2c flour and 1/2c water.
If you have 4-6 cups starter, feed 3/4c flour and 3/4c water.
If you have 6-8 cups starter, feed 1c flour and 1c water.
That's it! You will find that your starter smells more delicious and bread-like every day. The flavor of your starter will develop over the course of weeks. The very first recipes you make will taste great, and they will just keep getting better and better! This careful and hygienic method should help your culture grow beautifully for years. Many French bakeries use cultures that are hundreds of years old.
Enjoy, my friends, and let me know how it goes! I will endeavor to reply to comments left here, so feel free to post questions, as well.

